Adobe Elements 18 Editor
I have used Adobe as my photo editor and picture manager for a number of years. Back in the days when I was earning and could justify the expense I used the full CS package. Today I use the more modest and affordable Elements. And whilst the image editing provisions in Elements is limited (poor?), if your requirement is more for Cataloguing your photos, with the ability to undertake minor tweaks (Croppping, Contrast, Exposure, Temperature adjustments…) then Adobe Elements is fine (IMHO).
However if your requirements extends to image manipulation (HDR, Image blending, Colour filtering etc, then I would recommend choosing another editor such as Affinity. Affinity not only has the editing capabilities of Photoshop Professional, at a fraction the price, but also operates at the colour depth of the original image. Whereas with Elements you are always reduced to 8 bits.
Editing with Elements 18 Editor
If you fire up Elements Editor from the Start-up menu or enter the editor from the organiser and are editing a RAW image, then the first Editor you will encounter is Adobe Camera Raw Editor or ACR.
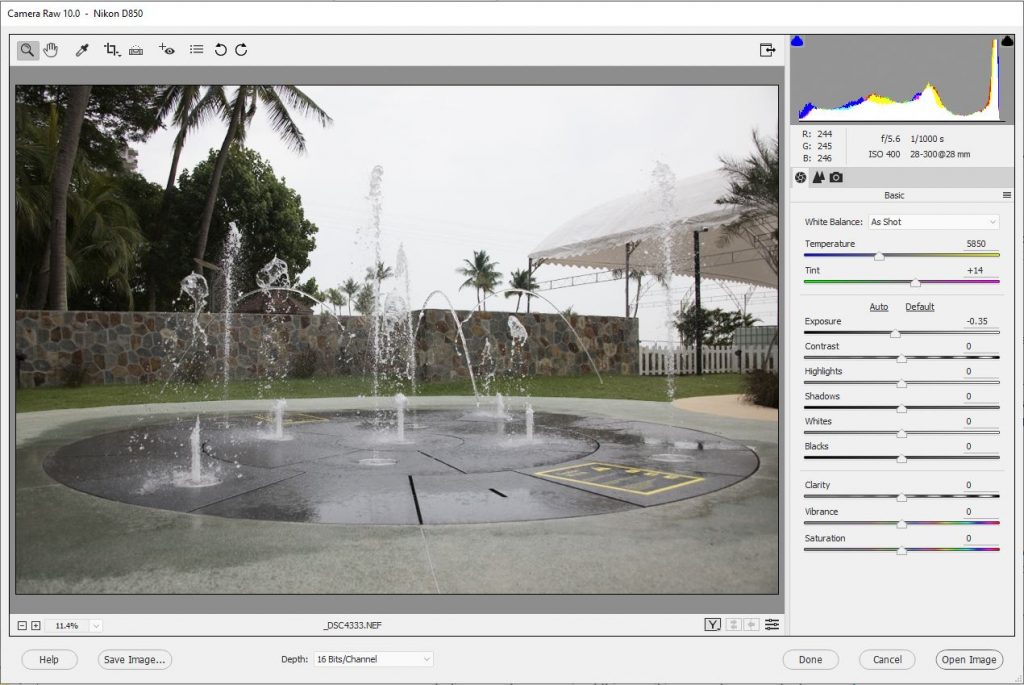
Within the RAW Editor you can manipulate:
- Temperature
- Tint
- Exposure
- Contrast
- Highlights
- Shadows
- Whites
- Blacks
- Clarity
- Vibrance
- Saturation
- Cropping
- Levelling
- Image Rotation
all whilst retaining image depth and image format. (By default the changes are held in a XMP file, and that is used to transform the untouched RAW image). And I have to say, this aspect of Elements I do like, and would give this 10 out of 10.
However if you need to do more, then you will have to continue to the full Elements Editor, and any edits at this stage will almost certainly be destructive, because you will need to reduce to 8 bits/colour channel.
Elements Image Editor
Within the Image Editor of Elements there are basically two routes to editing an image, you can edit the image direct, via the Enhance menu options, or you can use Layers and Filters to acheive (for the most part) the equivalent result. The advantage of using Layers and Filters is that the edits are none destructive to the initial image in that they do not operate on the underlying image. Whereas changes made to the image using the Enhance menu options cannot always be cleanly undone.
Note: However, before you can execute any manipulation either via the Enhance menu or by Layers, you will need to reduce colour depth to 8 bits/channel. Some, though not all, Filters can be applied to images without reducing colour depth to 8 bits/channel. (Open up an image with a greater colour depth and click on the Filter menu to see which Filters are active)
Layers
I initially thought of Layers in Elements a bit like the old acetate transparencies, in that anything on a layer hides whatever is below it in the lower layers, except, of course, for transparent areas. For transparent areas, what is in the lower layer shows though. Now, whilst that explanation is essentially correct, it does nothing to express the power of layers to completely transform an image.
You can add a new layer simply by clicking Layer>New from the menu item, and then copy and paste an image into it. Alternatively you can create a duplicate of the background layer, or indeed any existing layer.
Adjustment Layers
Adjustment Layers are what you use to control exposure, contrast, colour levels etc. As such they do not usually contain any imagary. Rather they can be considered as filters that you may use on the camera.
Note: The style options above apply to all layers including the following Adjustment Layers. So the effects of the Adjustment Layers can all be augmented with the Style effects listed above.
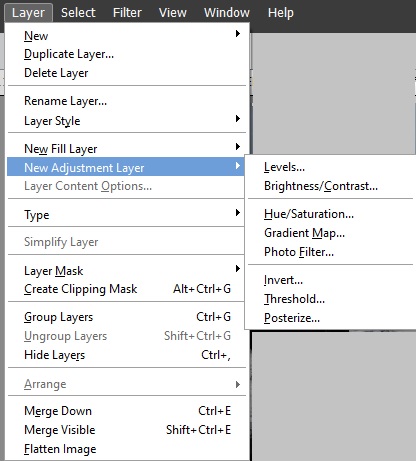
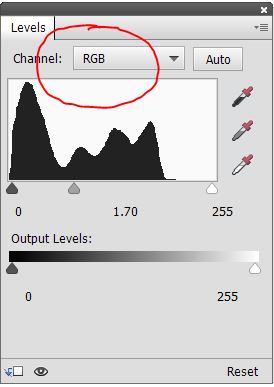
Levels Adjustment Layer
The Levels is a crude adjustment layer for controling the level ofeither all colours, or individual colors. Selecting this options brings up a modal dialogue which can be used to lighten or darken the image or, as said, individual colours, but to be honest there are better adjustment layers that provide more subtle control.
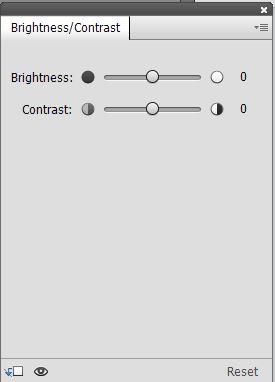
Brightness / Contrast
Not too dis-similar to the Levels layer. The Brightness & Contrast layer provides simple controls to manipulate Brightness & Contrast
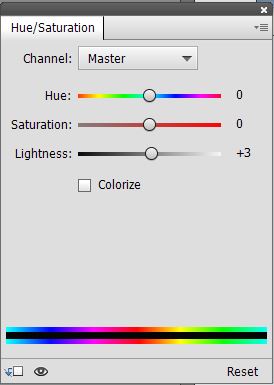
Hue/Saturation
Allows control of Hue, Saturation and Lightness of six individual colour channels or all channels as one. Very powerful Adjustment layer. It can help bring out/identify underlying colour distributions, not obviously there from the initial image, and can readily transform a flat photo into a colourful dynamic image.
Gradient Mask
Provides a fixed set of gradient maps that you can apply to an image. These can produce some interesting effects, but to be honest, they are not really what I would describe as creative aids. You can add a gradient with much more control using layer Masks (detailed later.). These Gradient Maps are good for a bit of fun and to experiment with.
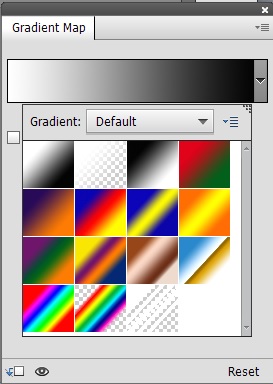
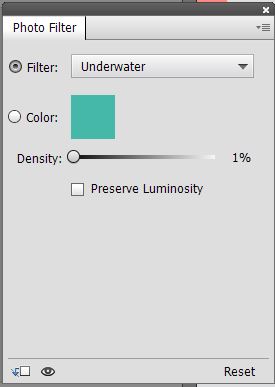
Photo Filter
Photo Filter allows you to imitate that addition of a colour filter to the lens of the camera. The Options dialogue allows you to selected either from a named list of standard colour filters, or to chose the colour from a colour picker.
Invert, Threshold & Posterize
Invert layer does exactly that – it inverts the image. No options. Threshold converts the image to pure Black & White (That is B&W, not grayscale) and Posterize applies a posterization effect whose use is questionable.
Layer Masks
A Layer Mask, as the name suggests is a mask that is added/attached to a Layer. They are used to limit the area to which the layer effect is applied. Layer Masks can be added by selecting the layer and either clicking on the layer Mask ICON ![]() in the Layer Toolbar or by clicking on the Layer menu item and selecting Layer Mask. If you have an area of the image selected at the time of adding the Layer Mask, the mask will automatically use that selected area (or its inverse, if you select Hide instead of Reveal) .
in the Layer Toolbar or by clicking on the Layer menu item and selecting Layer Mask. If you have an area of the image selected at the time of adding the Layer Mask, the mask will automatically use that selected area (or its inverse, if you select Hide instead of Reveal) .
Blending Modes
When you add a new layer you have the option of adjusting its opacity and how it blends / reacts with the layers below.
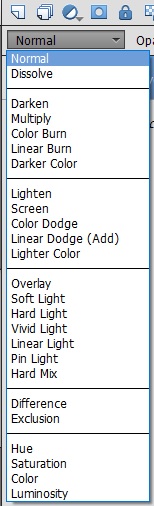
- Normal – As the name suggests, no effects added
- Dissolve – Eliminates random pixels. Density of pixels eliminated depends on Opacity
- ———————–
- Darken – Combines the pixels with those beneath
- Multiply – Similar to Darken, but Multiplies the pixels with those beneath
- Color Burn – Can only explain this as an extreme High Contrast effect combining the layer with those below.
- Linear Burn – Simialr to Color Burn, but with the colour almost drained.
- Darker Color – Displays whatever is darker from this image and the image beneath.
- ———————–
- Lighten – Opposite of Darker Color
- Screen – Appears to equivalent of Normal with Opacity set at 50%
- Dodge Color – Like Screen, but with enhanced contrast applied to top layer
- Linear Dodge (Add) – Like Dodge Color, butmore enphasis given to top layer.
- Lighter Color – Seems to be identical to Lighten
- ———————–
- Overlay – 50:50 combination of top layer and image beneath.
- Soft Light – Preference to lighter pixels
- Hard Light – Preference Darker pixels, with some contrast added.
- Vivid light – Preference high intensity pixels, with some contrast added.
- Linear Light – Similar to Vivid, but less intensity
- Pin Light – Seems to take the ‘important’ bits for both images. Effect can be very surreal.
- Hard Mix – High Contrast, extreme blending of both images.
- ———————–
- Difference – Seems to take the edges of one image with the colours from the other image.
- Exclusion – Reverse of Difference.
- ———————–
- Hue – Bottom image combined with the Hue of Top image
- Saturation – Bottom image with colour saturation taken from top image. Can produce an almost monochrome effect.
- Color – Similar to saturation, but only where the top and bottom image match colour do you get any colour
- Luminosity – Not sure how to describe this effect.
Note: The above Blend Descriptions are my interpretation of the effects. Please see the Adobe Elements documentation for an exact, detailed explination of how the blends operate.
Filters
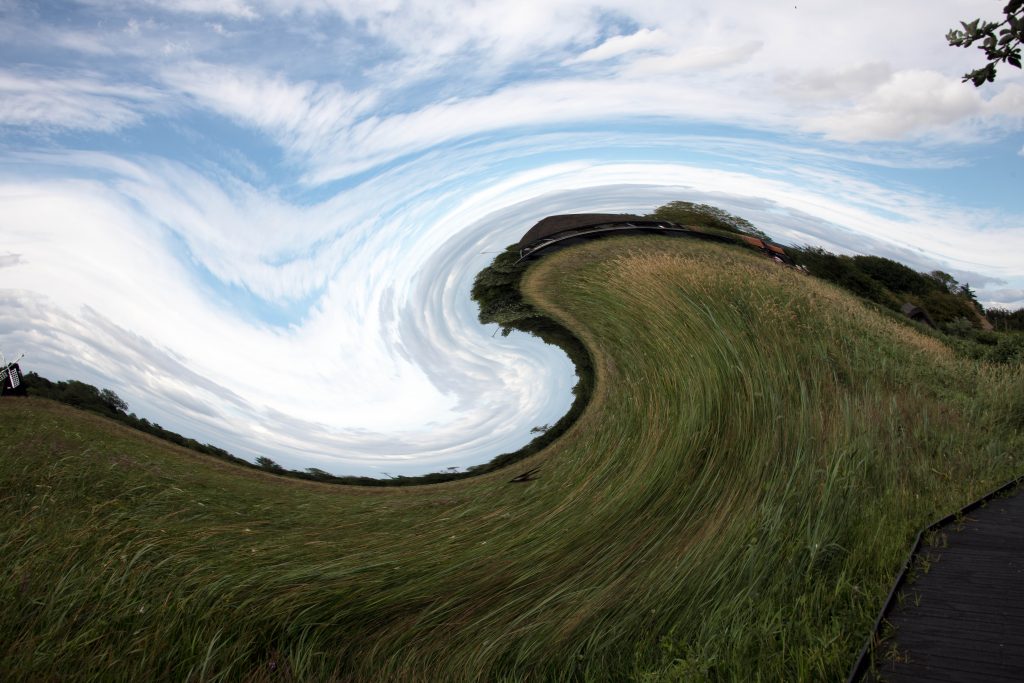
Filters are a collection of image manipulations that allow you to play around with the image in an artistic manner. Really depends on what you are trying to achieve. Used the Twirl filter to produce this quite pleasing image: